SUPPORT

How to configure AP+WDS mode on netis wireless routers?
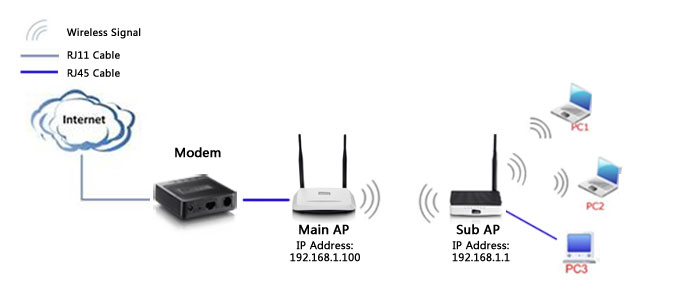
A Wireless Distribution System (AP+WDS) is a system that enables the wireless interconnection of access points in an IEEE 802.11 network. It allows a wireless network to be expanded using multiple access points without the need for a wired cable to link them, as is traditionally required.
The Topology are as below:
The Steps are as below:
Part One: Upgrade the Firmware of your netis router to the latest version.
Notice before upgrade:
1. Please download the latest firmware from netis website.
The firmware file is saved in ZIP format. Please use decompression software such as WinZip to extract the firmware file to a folder.
2. Do NOT upgrade the firmware via wireless connection. Please connect the computer to netis router through Ethernet cable.
3. Do NOT turn off the power or cut down the Ethernet cable during the upgrade process.
4. Internet Explorer (IE) is the recommended browser to upgrade the firmware.
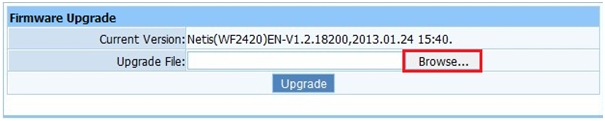
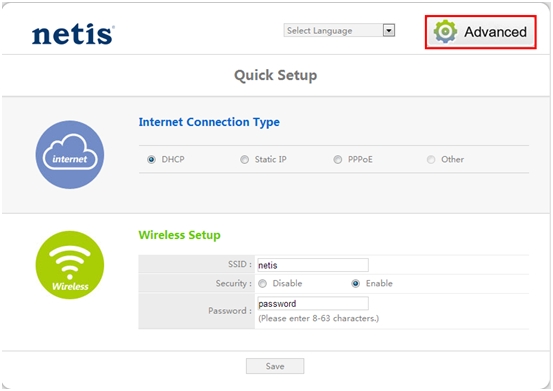
Step 1. Open the web browser and type the IP address of the router (default: 192.168.1.1) into the address bar, then press Enter.

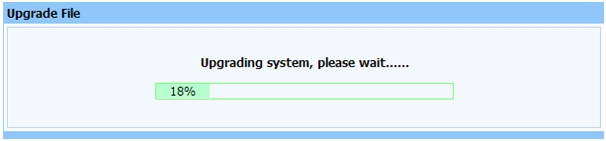
Step 3. Click Upgrade to upload the firmware.
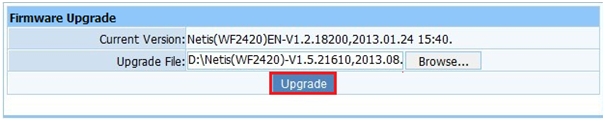
The router will reboot automatically after the upgrading has been finished. Please wait 2 minutes.
Part Two: Configure Steps
Note:
1. LAN IP of sub router/AP should be different but in the same subnet of the main router/AP;
2. AP+WDS bridging only requires the AP+WDS setting on either the main router/AP or the sub router/AP, on either 2.4GHz or 5GHz; NO need to setup on both side or both band.
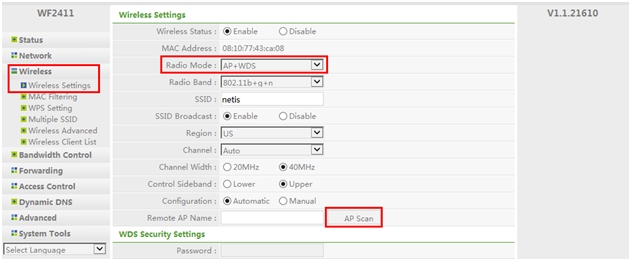
Step 1. Go to Wireless->Wireless Settings, Choose the Radio Mode as AP+WDS, Click the AP Scan button.
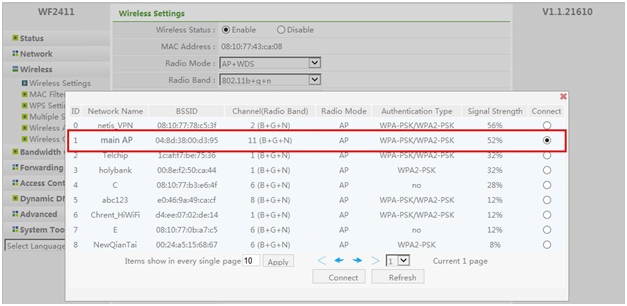
Then the page will show like below. On the pop-up window, find the SSID of your main AP and click Connect button.
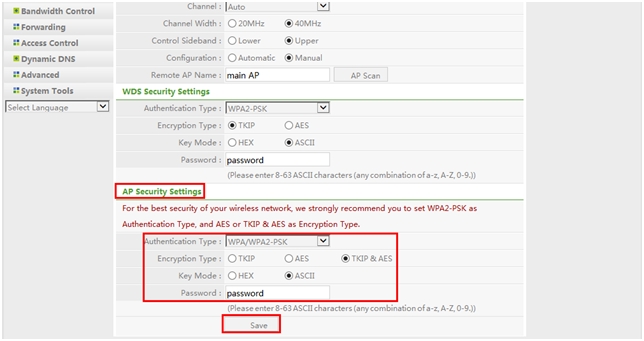
Step 2. The main AP’s SSID have been filled automatically, then choose the Authentication Type, Encryption Type, Key Mode and input the Password and make sure they are the same with main AP’s.
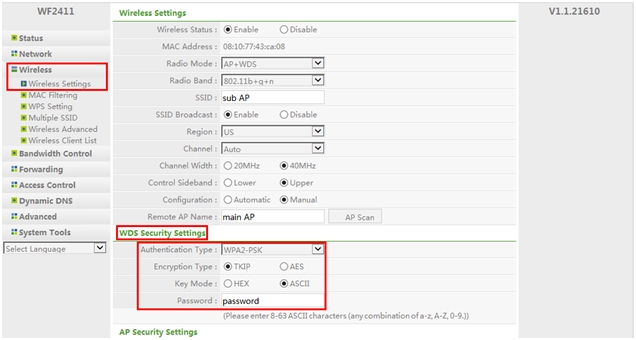
Step 3. Then configure the sub AP’s wireless network, step up the SSID and password then click Save button to save all settings.
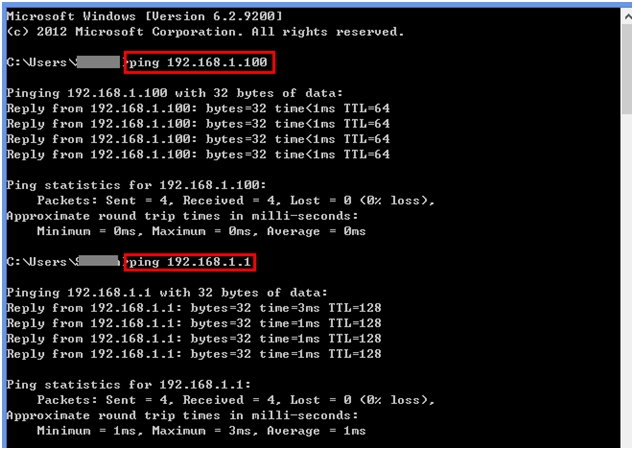
All settings required by WDS function is completed. You can make a simple check by the ping utility. If the ping proceeds successfully (which means the AP+WDS performs properly), you will see the similar screen as below: (in this example, the main AP’s IP is 192.168.1.100, sub AP’s IP is 192.168.1.1),
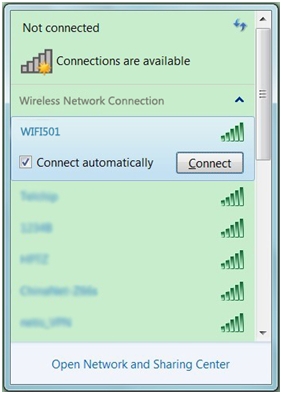
Also you can use your wireless device to search the netis wireless signal (sub AP), and input the wireless password you just set in the follow page and click connect. When the network shows connected, you can go to internet wirelessly.
© Netis Systems Co., Ltd. All rights reserved.


 Global(English)